
You might have found yourself in urgent need of an e-collar, or perhaps you would prefer to create something that is a custom fit for your dog. Whether it’s to protect a surgical wound from licking, prevent itchy ears from being damaged, or to stop dogs scratching itchy skin, the proverbial ‘cone of shame’ has many uses, with different styles and designs working better for protecting different areas.
Whether you call them cones, e-collars (short for Elizabethan collar), or buster collars, the designs below can be made from materials that most of us will already have at home, so not only are they cheap, they’re more eco-friendly than buying a brand new one too! Some of these styles can be used long term, while others can work as a temporary solution until your veterinary practice or pet shop opens in the morning.
These designs have all been tried and tested by our vet, so you can be sure that they’ll be effective for your dog.
Before we begin, here are a few tips for getting the right collar for your dog:
- Dogs don’t like wearing these collars, so it’s up to you to stay strong and remember that sometimes you have to be cruel to be kind
- The cone needs to be able to stop them reaching the problem area, and sometimes that means being quite long.
- You can use your dog’s regular collar for most of these designs, but we recommend using a length of cord or separate collar so it’s easier to take them on and off.
- Don’t use elasticated cord because they will be able to stretch it over their heads.
- If your dog normally wears a collar, you can increase the security of these e-collars by tying them to the collar.
- If you don’t already have duct tape at home – get some.

The 7 Vet-Tested DIY Dog Cones You Can Make At Home
1. The Cardboard Box Collar

There’s never a shortage of cardboard boxes around my house, and I’m sure yours is the same! The folding flaps are the best pieces to use.
Materials
- Tape
- Cardboard
- Cord or a dog collar
- Scissors
Method
Cut sections of cardboard at an angle like a propeller. The number of sections you need will depend on the size of your dog.
Make sure the cardboard sections are long enough to reach from the neck to past the nose, otherwise they’ll be able to reach past the collar. The longer the collar, the more protection there’ll be.
Arrange the cardboard pieces around the neck circumference template and tape them into place.
On each side, place tape along the length of each join, folding it over the inside edge.


Fit the collar to your dog’s neck and tape it in place.

Now it’s time to make some loops to thread a collar or cord. Take 2 pieces of tape, one approximately 5 inches long, the other around 2.5 inches. Stick the pieces to each other, sticky sides facing in, and use the sticky ends to attach the loop to the inner edge of the collar. Place an extra piece of tape on each end to secure the loops in place, and repeat this three more times around the circumference.

Thread the collar or cord through the loops, and get ready for some final adjustments. Check the fit and length of the collar once it’s sitting in place. If needed, cut the length of the cardboard so that it reaches past the nose. Reinforce the collar by applying tape to any exposed edges.

2. The Paper Plate Collar

Good for small dogs
Materials
- Paper plates x 2
- Duct tape
- Cord
- Scissors
- Pen/Pencil

Method
Use your neck template to draw a circle in the center of both plates, 1 inch wider than the neck circumference, and cut this out. Make a straight cut to the center hole. Overlap the two ends until the inner circumference matches the neck template, and tape this in place.
Measure a separate length of cord that allows extra length for tying the ends.
Use one piece of tape to join the two plates together, then secure the cord between the plates with a small piece of tape on the inner circle edge. Leaving the two ends free, continue placing small pieces of tape around the inner and outer edges.

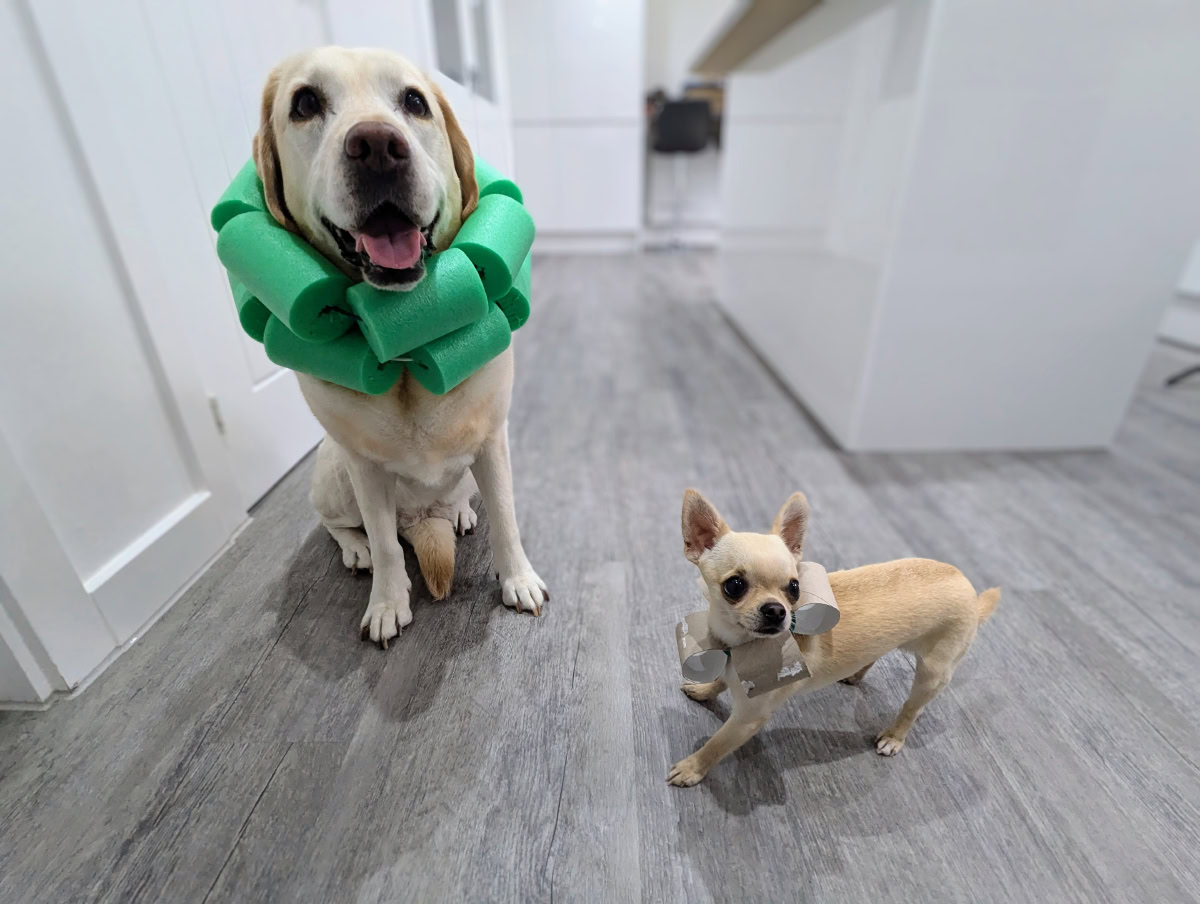
3. The Pool Noodle Collar

Materials
- 1 Pool Noodle
- Cord
- Scissors
- Knife

Method
Cut a length of cord that is twice the circumference of your dog’s neck. Cut a section of noodle the length of the collar circumference (half the total length of the cord). Cut the noodle into 4-6 inch sections and thread them onto the cord.
Tie this into place, ensuring that the collar is firm enough to reduce how much the neck can flex, but not so tight as to put pressure on the neck.
You can add a second row for dogs that are flexible or have long necks.


4. The Toilet Roll Collar

A small dog version of the pool noodle collar!
Materials
- 2-3 toilet roll centers
- Cord
- Scissors
Method
Cut a length of cord twice the circumference of the neck and select enough toilet rolls for the length of half the cord. Cut toilet rolls into 2 inch sections, thread them onto the cord, and tie in place.

5. The Floppy Hat Collar

Got an old floppy hat? Then you’ve got the makings of a soft, comfortable e-collar! These need to be large enough that your dog can’t easily push them out of the way, but not so large that they’ll end up tripping over them (like my model, Fred!)
Materials
- 1 floppy hat
- Tape
- Scissors
- Cord

Method
Make an X-shaped cut on the top of the hat. Fold each triangle of fabric over the cord and use tape to secure it in place, or for a more long-lasting result, you can sew the folded fabric in place. Use the cord to secure the collar around the neck.

6. The Stuffed Tights Collar

Make use of a pair of old tights and some rubbish!
Materials
- 1 pair of tights
- Some old newspaper, paper
- Scissors

Method
Stuff one leg of the tights with paper, leaving about 1 foot at the toe end for tying the collar. Tie off the end and you can either cut off the one leg, or make a double layer collar by filling the second leg as well. Use the free ends to secure in place.

7. The Towel Collar

The simplest of all our solutions; if you have duct tape, you can make this emergency version of a ‘cone of shame’. All you need is a towel, tape, and scissors. Fold the towel lengthwise, wrap it firmly around the neck, and use duct tape to secure it in place. This one isn’t a long-term solution, but can stop your dog from being able to reach their feet and body and protect the head and ears from scratching until you can get to your vet, or find (or make) something more suitable. Make sure the wrap is firm enough to be effective, but not putting pressure on the throat.
The End!
So there you have it: 7 different options for creating a cone of shame with items you will find around almost any home. Just make sure you’ve always got some duct tape!
